The Clay Process
A simplified overview of the 7 steps that lead you from a ball of clay, to a glazed and fired finished piece.

Note: This tutorial doesn’t go into detail on how to form a mug, vase etc from clay, for that you can either follow the pretty little instructions that come with Ochre’s Clay Kits. Or if you live around Byron Bay you can come to one of Ochre’s fortnightly - monthly Group Pottery Classes.
Or I have made a few FREE Video Tutorials for you to follow along. Sharing all my muddy tips on how to make a beautiful set of mugs, using the From Clay to Mug kit.
And how to make your very own stunning ceramic jewellery with the From Clay to Jewellery kit.
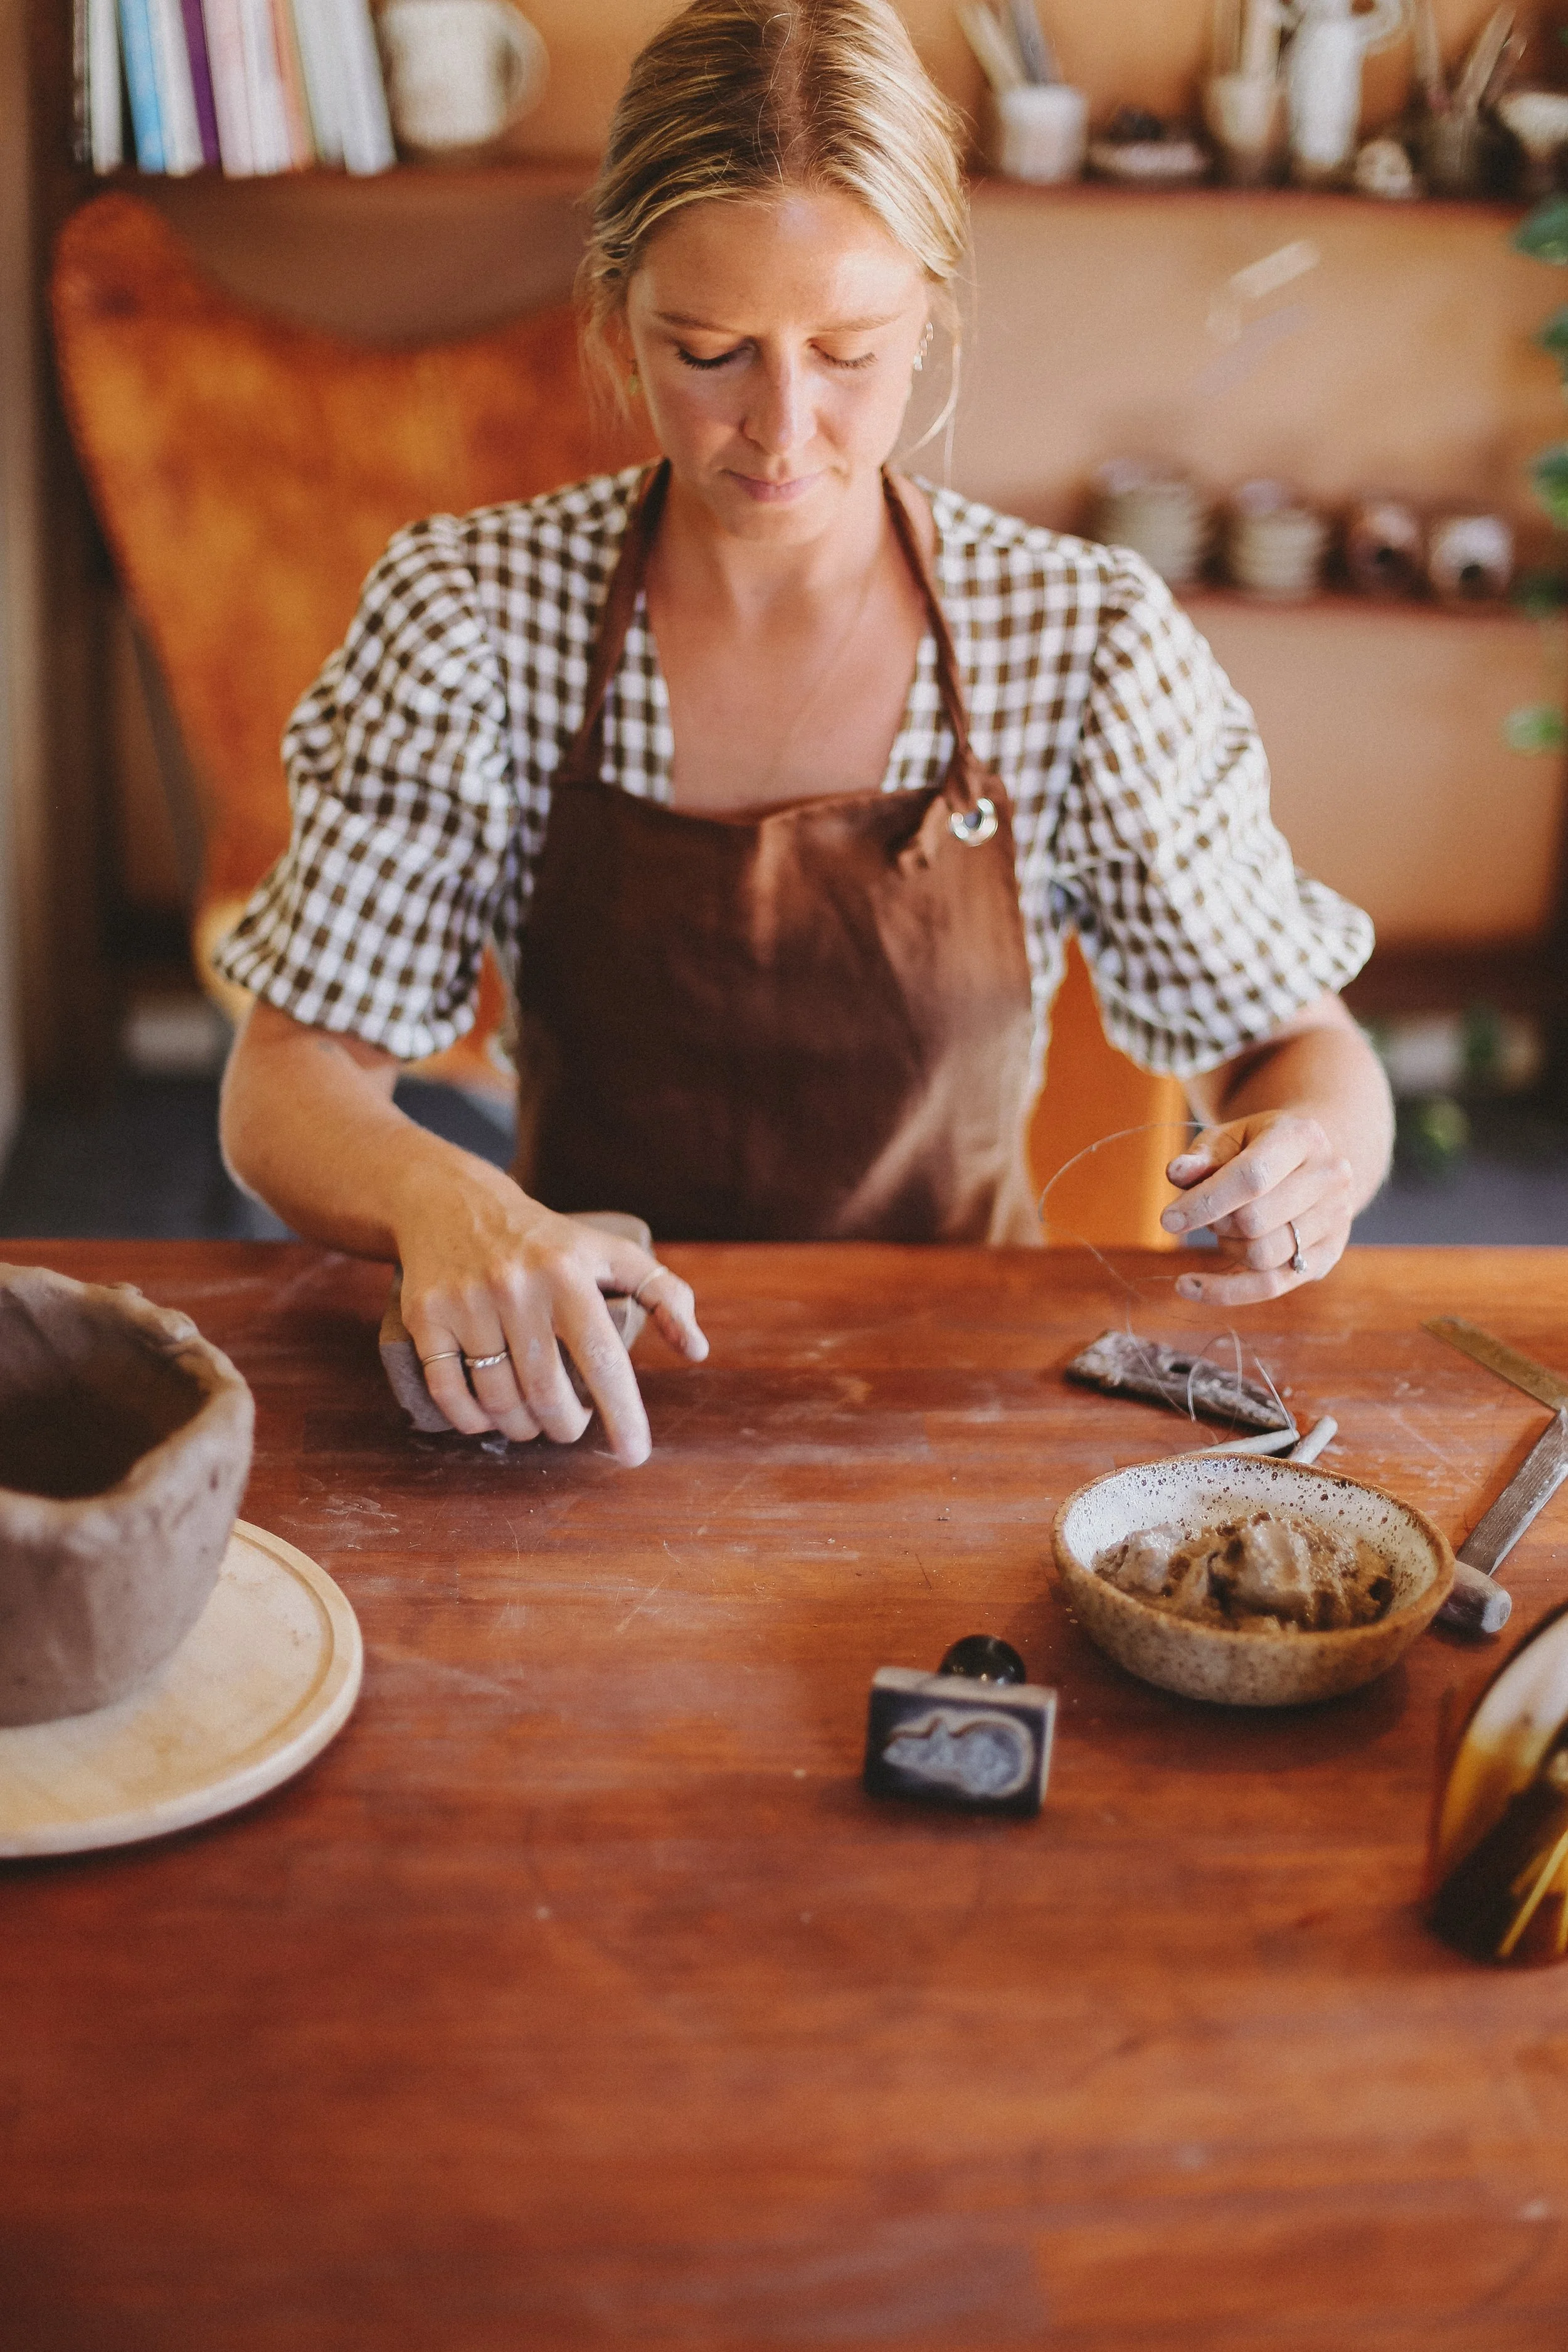
Get yourself some clay, you can buy one of Ochre’s Clay Kits which has everything you need; clay, tools + glaze. Or if you are sourcing your clay from a pottery shop I recommend getting a hand building clay as it is easy to work with, and holds it shape really well. Make sure you take note of the firing temperature specified on the clay, as you will need to know this when choosing your glaze later.
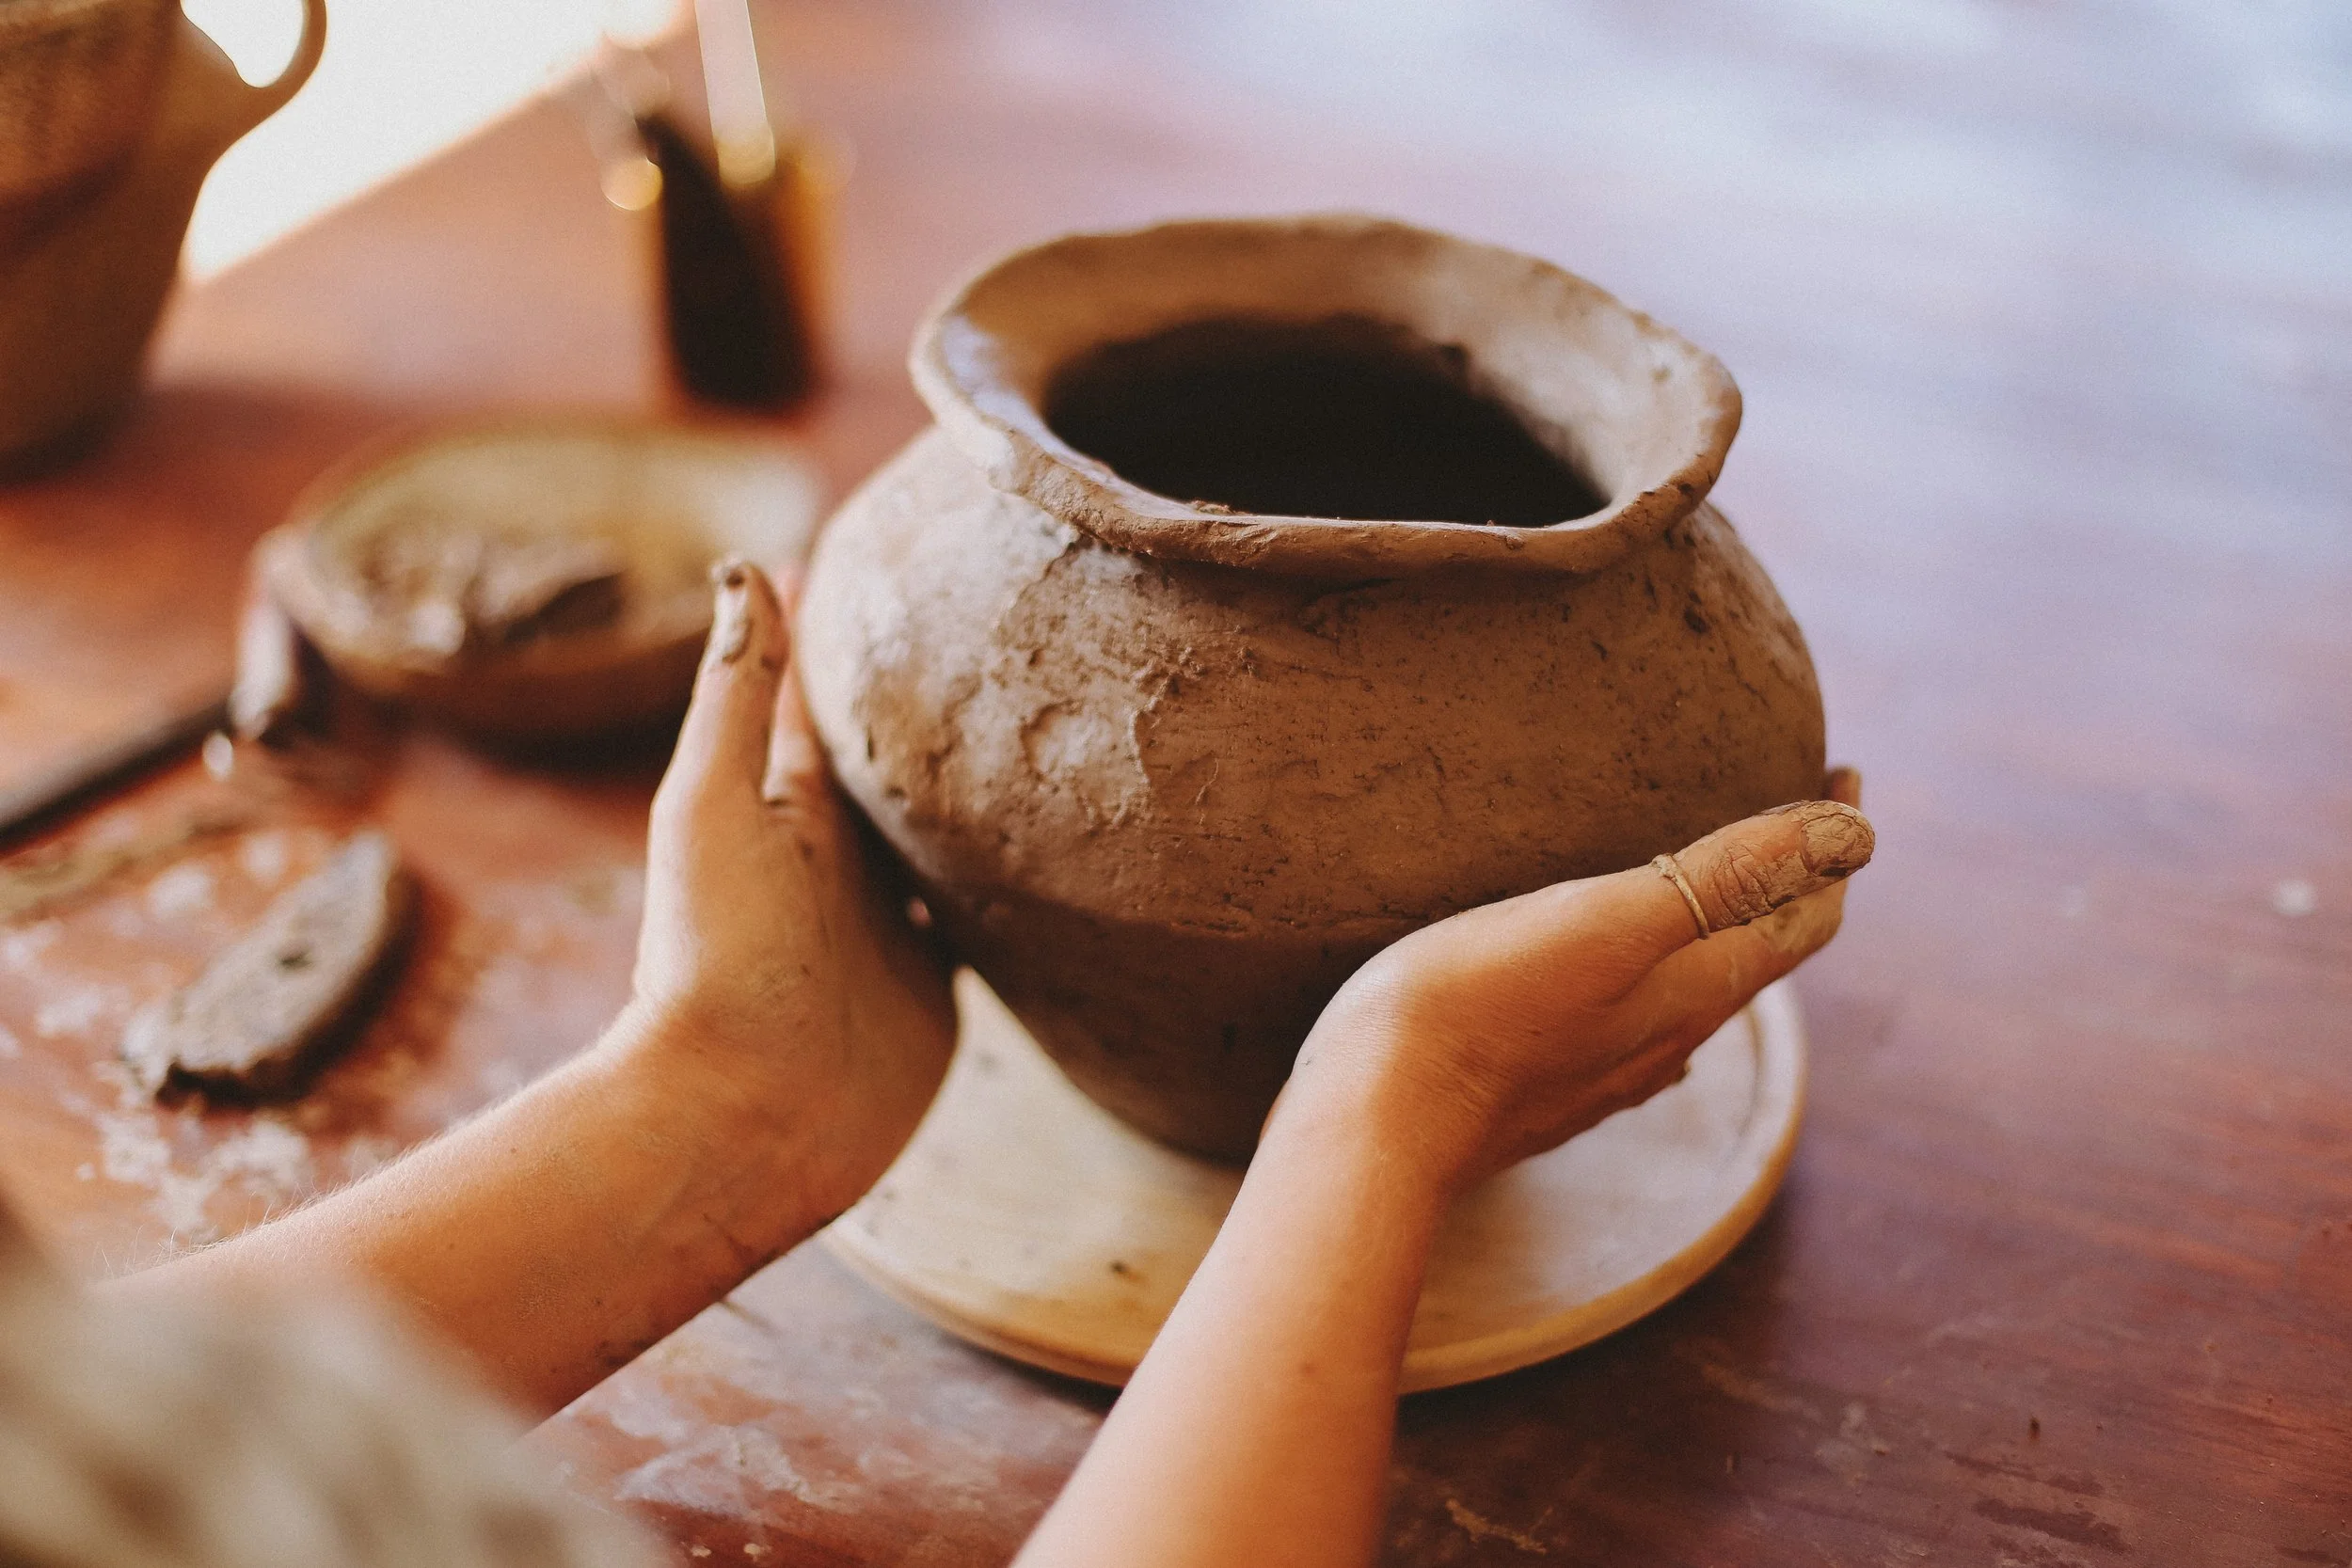
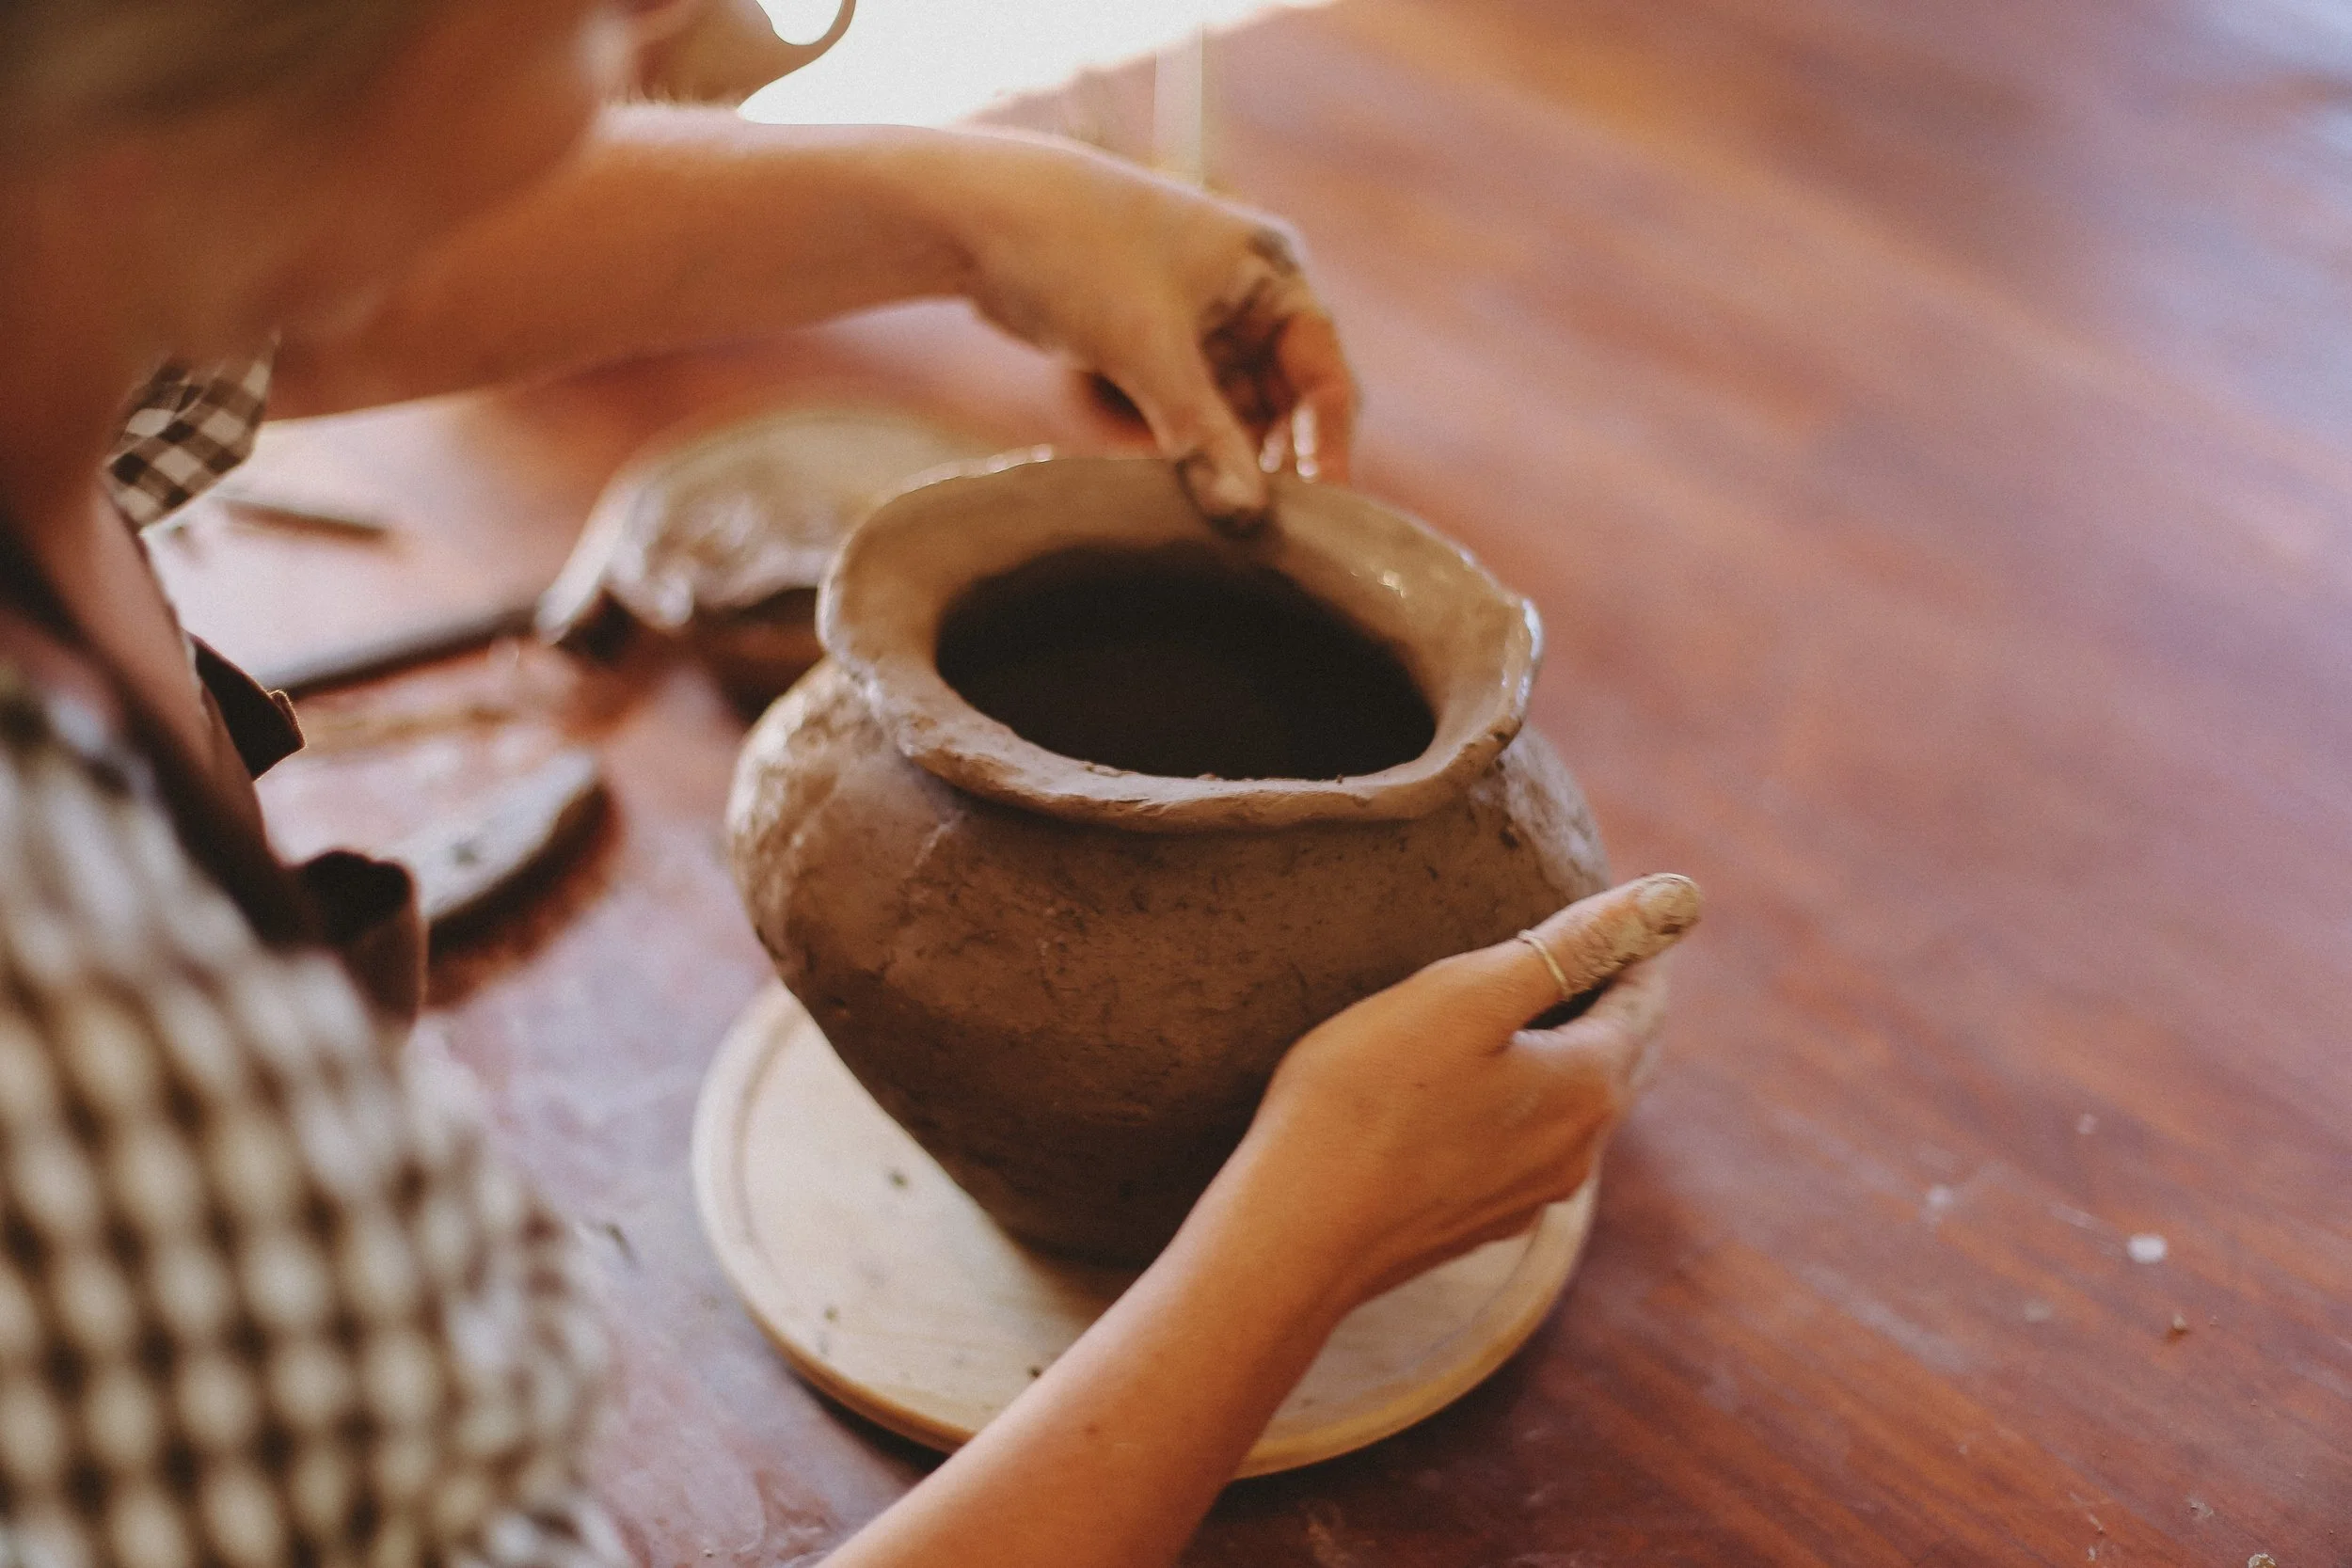
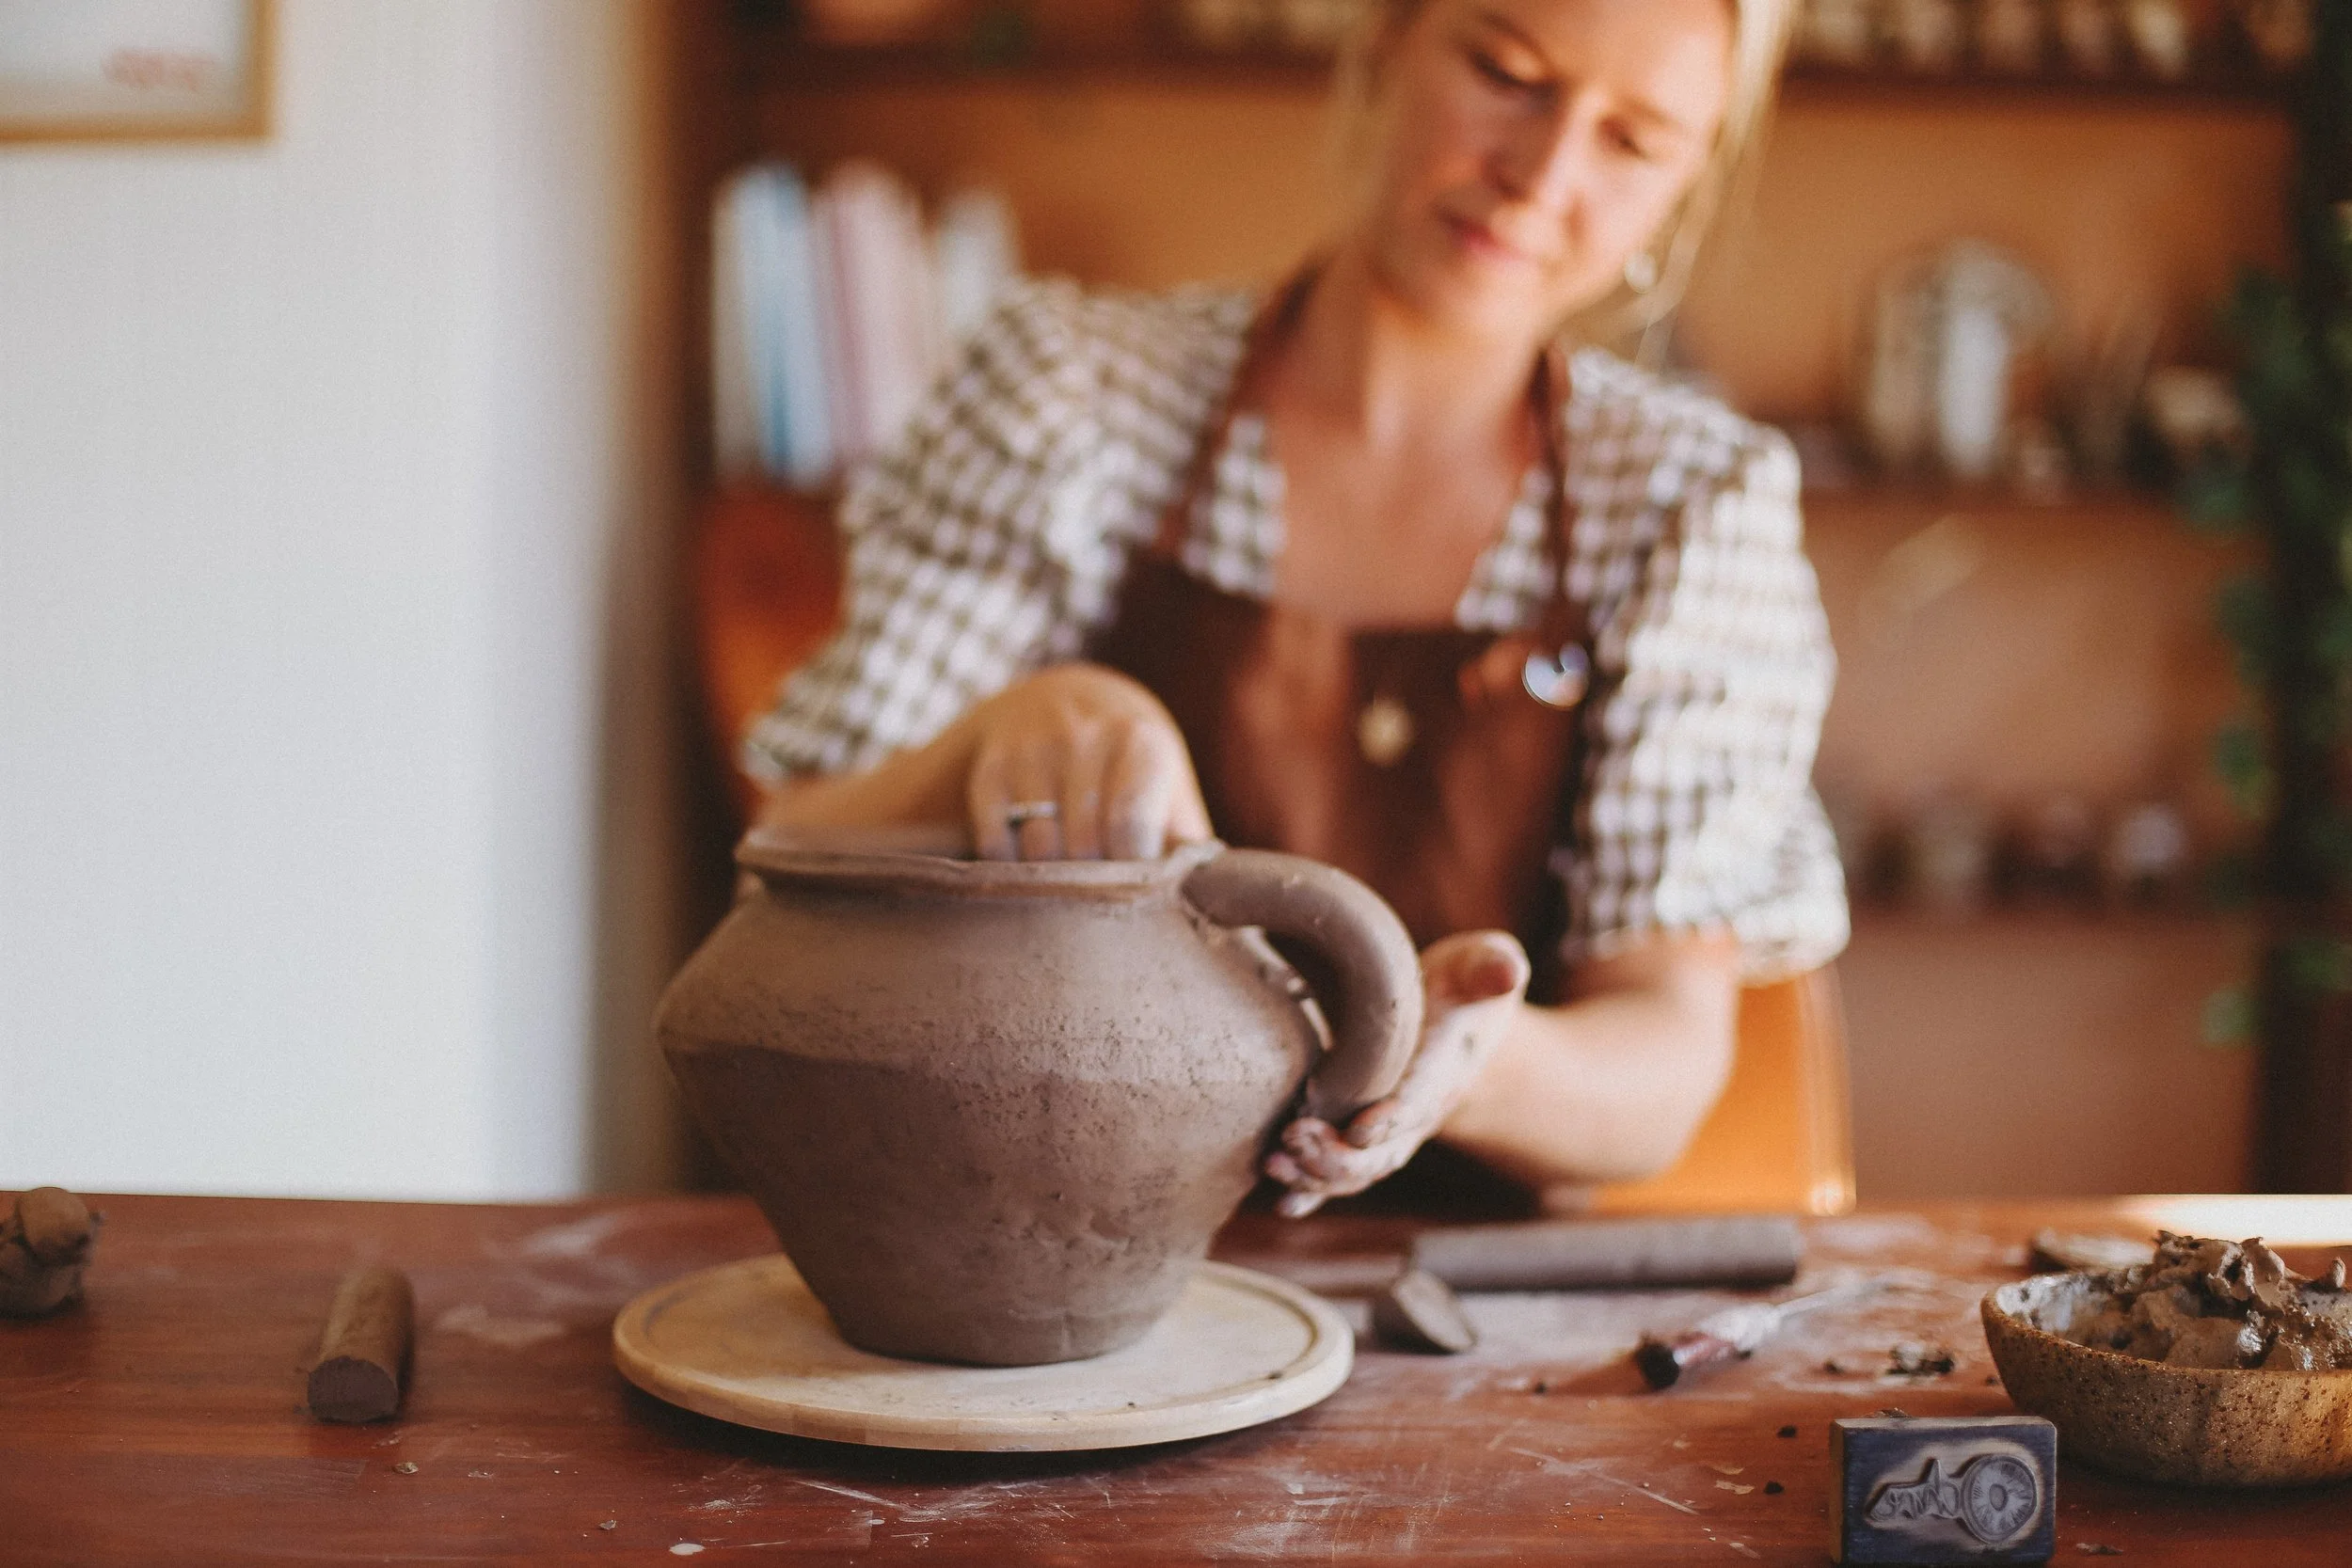
Make your beautiful clay creation. For hand building tutorials on 'How to make a Vase' ...plate, bowl, mug and more see Ochre's free workshop videos saved on 'Ochre Ceramics' Instagram IGTV. °Click Here°
Once you have your finished pieces, it’s time to let them dry. This part is very IMPORTANT, it takes somewhere between 5-7 days for most of the water to evaporate out of the clay. You must NEVER put your pieces in the direct sun or by the heater to dry. They need to dry slowly, or they might crack. Tip, if you have a cake drying rack, put your pieces on it so they can dry evenly.
When your clay pieces are dry they are ready for their FIRST FIRING - aka BISQUE FIRING. This firings purpose is to get that last bit of water out, so they are ready to glaze afterwards. Take them to a pottery studio with a 'kiln firing service.' You can google your local 'kiln firing service' and they often run weekly to fortnightly. The bisque firing takes about 10 hours in a kiln of around 1000º. When it's finished you may see a slight (10-15%) shrinkage in your pieces.
After you have Bisque fired your pieces you can GLAZE THEM! Picking the glaze is determined by what clay you made your pieces out of. You need to pick from colours within a firing temperature range that matches up with your clay. This is VERY IMPORTANT! There are commonly 3 different final firing temperatures, they can be referred to as 'Cones' or you may see the words Earthenware, Mid-fire and Stoneware. Just make sure when choosing a glaze that the temperature on the glaze (eg. 1280º/Stoneware/Cone9) is the SAME as the temperature the on the clay. Always ask the staff working at the pottery studio for help if you're not sure.
If you have one of Ochre’s Clay Kits, I have done all this for you, as they come with glaze.
Glazing your pieces. You can buy 'Dip' or 'Paint On' glaze, it comes down to your preference. VERY IMPORTANT when you apply glaze DO NOT glaze the bottom as it will stick to the shelf in the next firing. e.g. You can not glaze the bottom of your mug. Apply 1-3 coats of glaze, the amount of coats may change the strength of the colour. I recommend 2 thick coats. Wait for one coat to dry before applying another. Applying glaze thickly. Once the glaze is dry, it needs its second and LAST FIRING!
Make sure you know the temperature (as noted on both the clay, and the glaze) for the final firing. I recommend taking a photo of both the clay and glaze to show the staff at the pottery studio so they can help. As I mentioned before, there are commonly 3 different final firing temperatures/cones or you may see the words Earthenware, Mid-fire and Stoneware. This final firing can take 10+ hours with a similar cooling down period. Once it is fired and cooled…
Your beautiful piece is READY. YAYYYYYYYYYYYY
Note: Firing services run weekly, sometimes more, sometimes less depending on the studio so make sure you understand it may take a week or two before you can collect your pieces again after both the bisque and final firing.
Pottery is a labour of love, and you can't rush the process. But that is what is so beautiful about it, it forces you to slow down. It makes you appreciate the work that goes into something as simple as a mug. I hope you enjoy making many beautiful pieces.


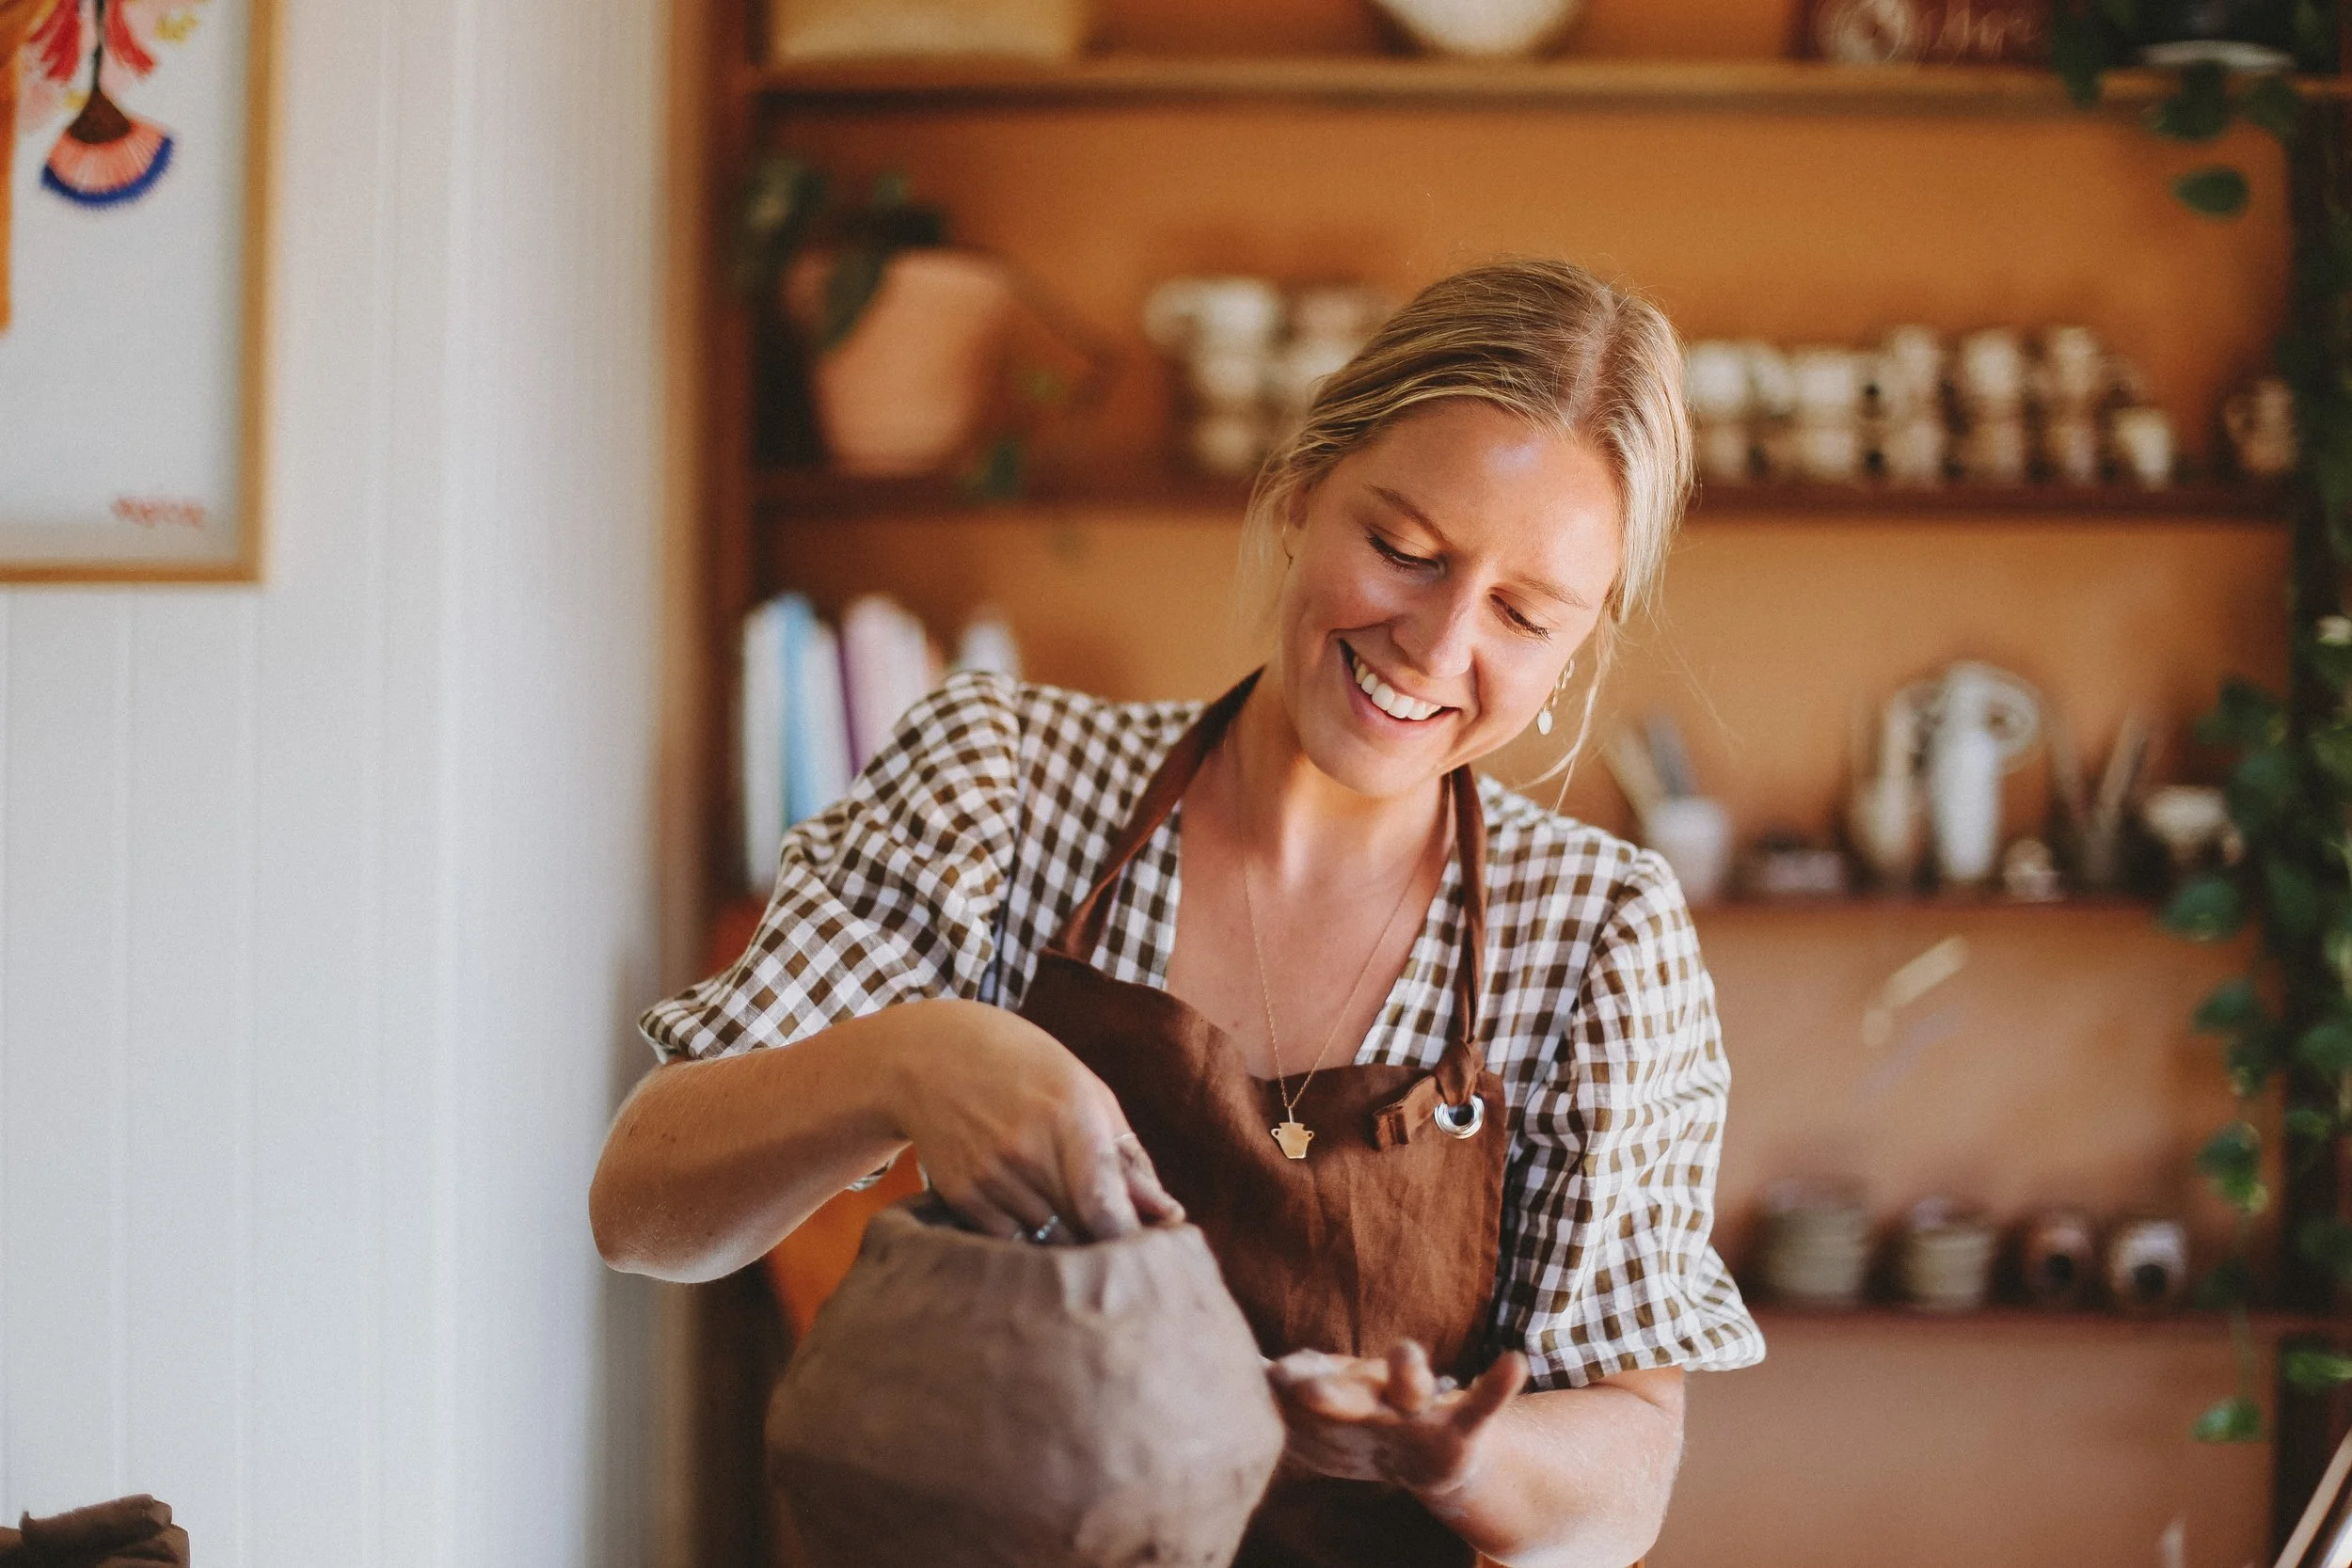


And don’t forget if this all sounds like a bit too much, you can always just come to one of Ochre’s Group Pottery Classes. Where you learn how to make beautiful clay pieces, and then I will do all the firing and glazing for you.
The intention of these group classes is to create a pottery event that you will feel spoilt in every way... So these classes are paired with either an afternoon of Wine + Cheese, or morning filled with Coffee + Croissants.
Ochre’s workshops run fortnightly - monthly, and are held in the most beautiful light filled studio in Byron Bay.
Come and be serenaded by beautiful tunes, while indulging in a delicious local spread… and all while making your very own beautiful clay creations.